
Configure Business connectivity service
application for SharePoint 2013 (On-premises)
19 April 2013

Business Connectivity Services is a set of services and features that connect SharePoint-based solutions to sources of external data.
This post will explain how to create Microsoft Business connectivity service instance for SharePoint 2013 Farm.
Prerequisites
Make sure that you have SharePoint 2013 enterprise license.
You need Farm administrator rights to create BCS service
Need new service account to run BCS service (Add it to SharePoint managed accounts)
Process
Go to the SharePoint Central Administration website for your farm.
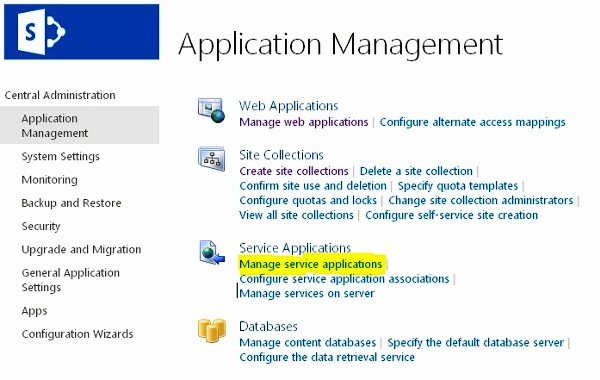
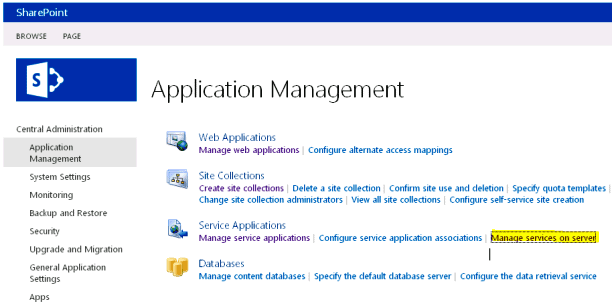
On the Quick start menu click “Application Management”
On the “Application Management” page under “Service Applications” click “Manage service applications” as appear in below image
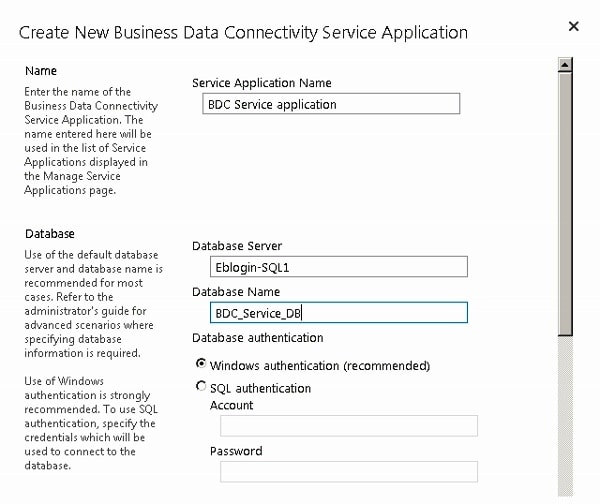
On the “Service Application” tab, click “New” and then select Business Data Connectivity Service from drop-down menu.
Enter the name of the service as you want In the Service Application name box
Leave the database name and database authentication as windows based, unless you have specific design to change them.
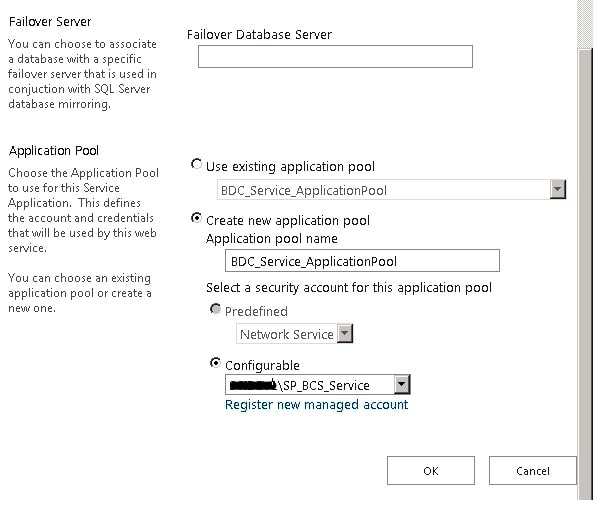
If you have SQL Server database mirroring configured and you want to include the Business Data Connectivity Service database in mirroring, provide the name of the failover database server in the Failover Database Server box.
Keep the failover database values empty unless you have database mirroring in-place and want to do mirroring on BCS database.
Provide the “Application Pool” name and service account credential. It is recommended to create new application pool for service applications.
Click “OK” to create the new Business Data Connectivity Service Application and in the next screen click “OK” again
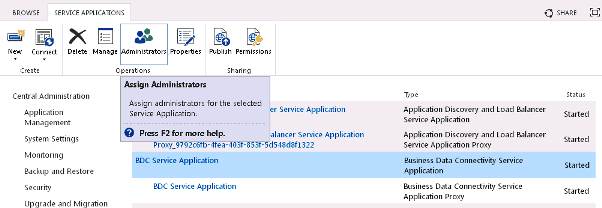
Once it is created use will see it listed in “Manage service application” page
Select the row that the Business Data Connectivity Service Application is in, click Administrators in the Operations area and add any accounts that you want to be able to administer the ”Business Data Connectivity” service application granting them full control.
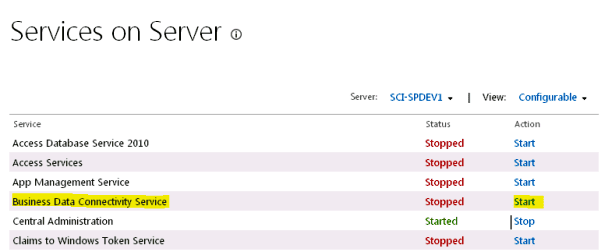
On the “Application Management” page under “Service Applications” click “Manage services on server” as appear in below image
Start the “Business Data connectivity service”
On the “Application Management” page under “Service Applications” click “Manage service applications”, select the newly create service and click “Manage”, you will see the following screen.
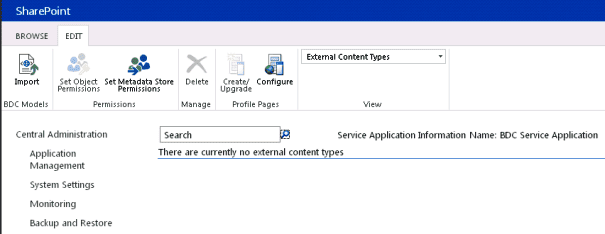
The Business data connectivity service application is created and ready to used!